We had two visitors and possible new members today. A warm welcome to Shirley and Cheryl.
The Whispers display and some of the Raising the Surface pieces will be at the Armstrong Museum and Art Gallery and the opening reception will be on November 1 from 6 to 8pm. The show runs through November until the 23rd.
A reminder that our scroll and 3D pieces will be displayed at the second VSSQ meeting in April.
Challenge for 2024/25 season
Sandie announced our challenge for the year, Trailblazing Women of BC and Yukon. The inspiration for the prompt is the book:
Her Courage Rises: 50 Trailblazing Women of British Columbia and Yukon.
These are the stories of 50 women who defied gender norms and societal expectations.
We will be making wall hangings of 3 layers quilted, 14" x 23" in portrait orientation with a rod pocket on the back. There are no rules on what you use to make your quilt but the size and orientation must be correct.
Show and Tell
We started off with the Creating Talismans Jeanette showed us last month
Christine

Cathy had two rocks, one wrapped and stitched and one colored with alcohol inks. Lovely!


Elisabeth had some pretty beads on hers, one of which she make herself.

Joan glued a complicated knot and some very intriguing purple things on her rock.

Shirley showed us 3 rocks and of course broke the rules by thread wrapping one and stitching one before she wrapped it.


Brigitte wrapped one of her father's collection of polished stones.

Show and Tell
General
Linda has been busy as usual and showed us her beautiful knitted top, indigo dyed paper and silk scarves and her finished scroll with handmade twisted cording.


Cathy had a trip to the fishing tackle shop and decided to try and make a quilt from the lovely bits and pieces you can get for fly tying. She says they are difficult to work with but still she had great results.


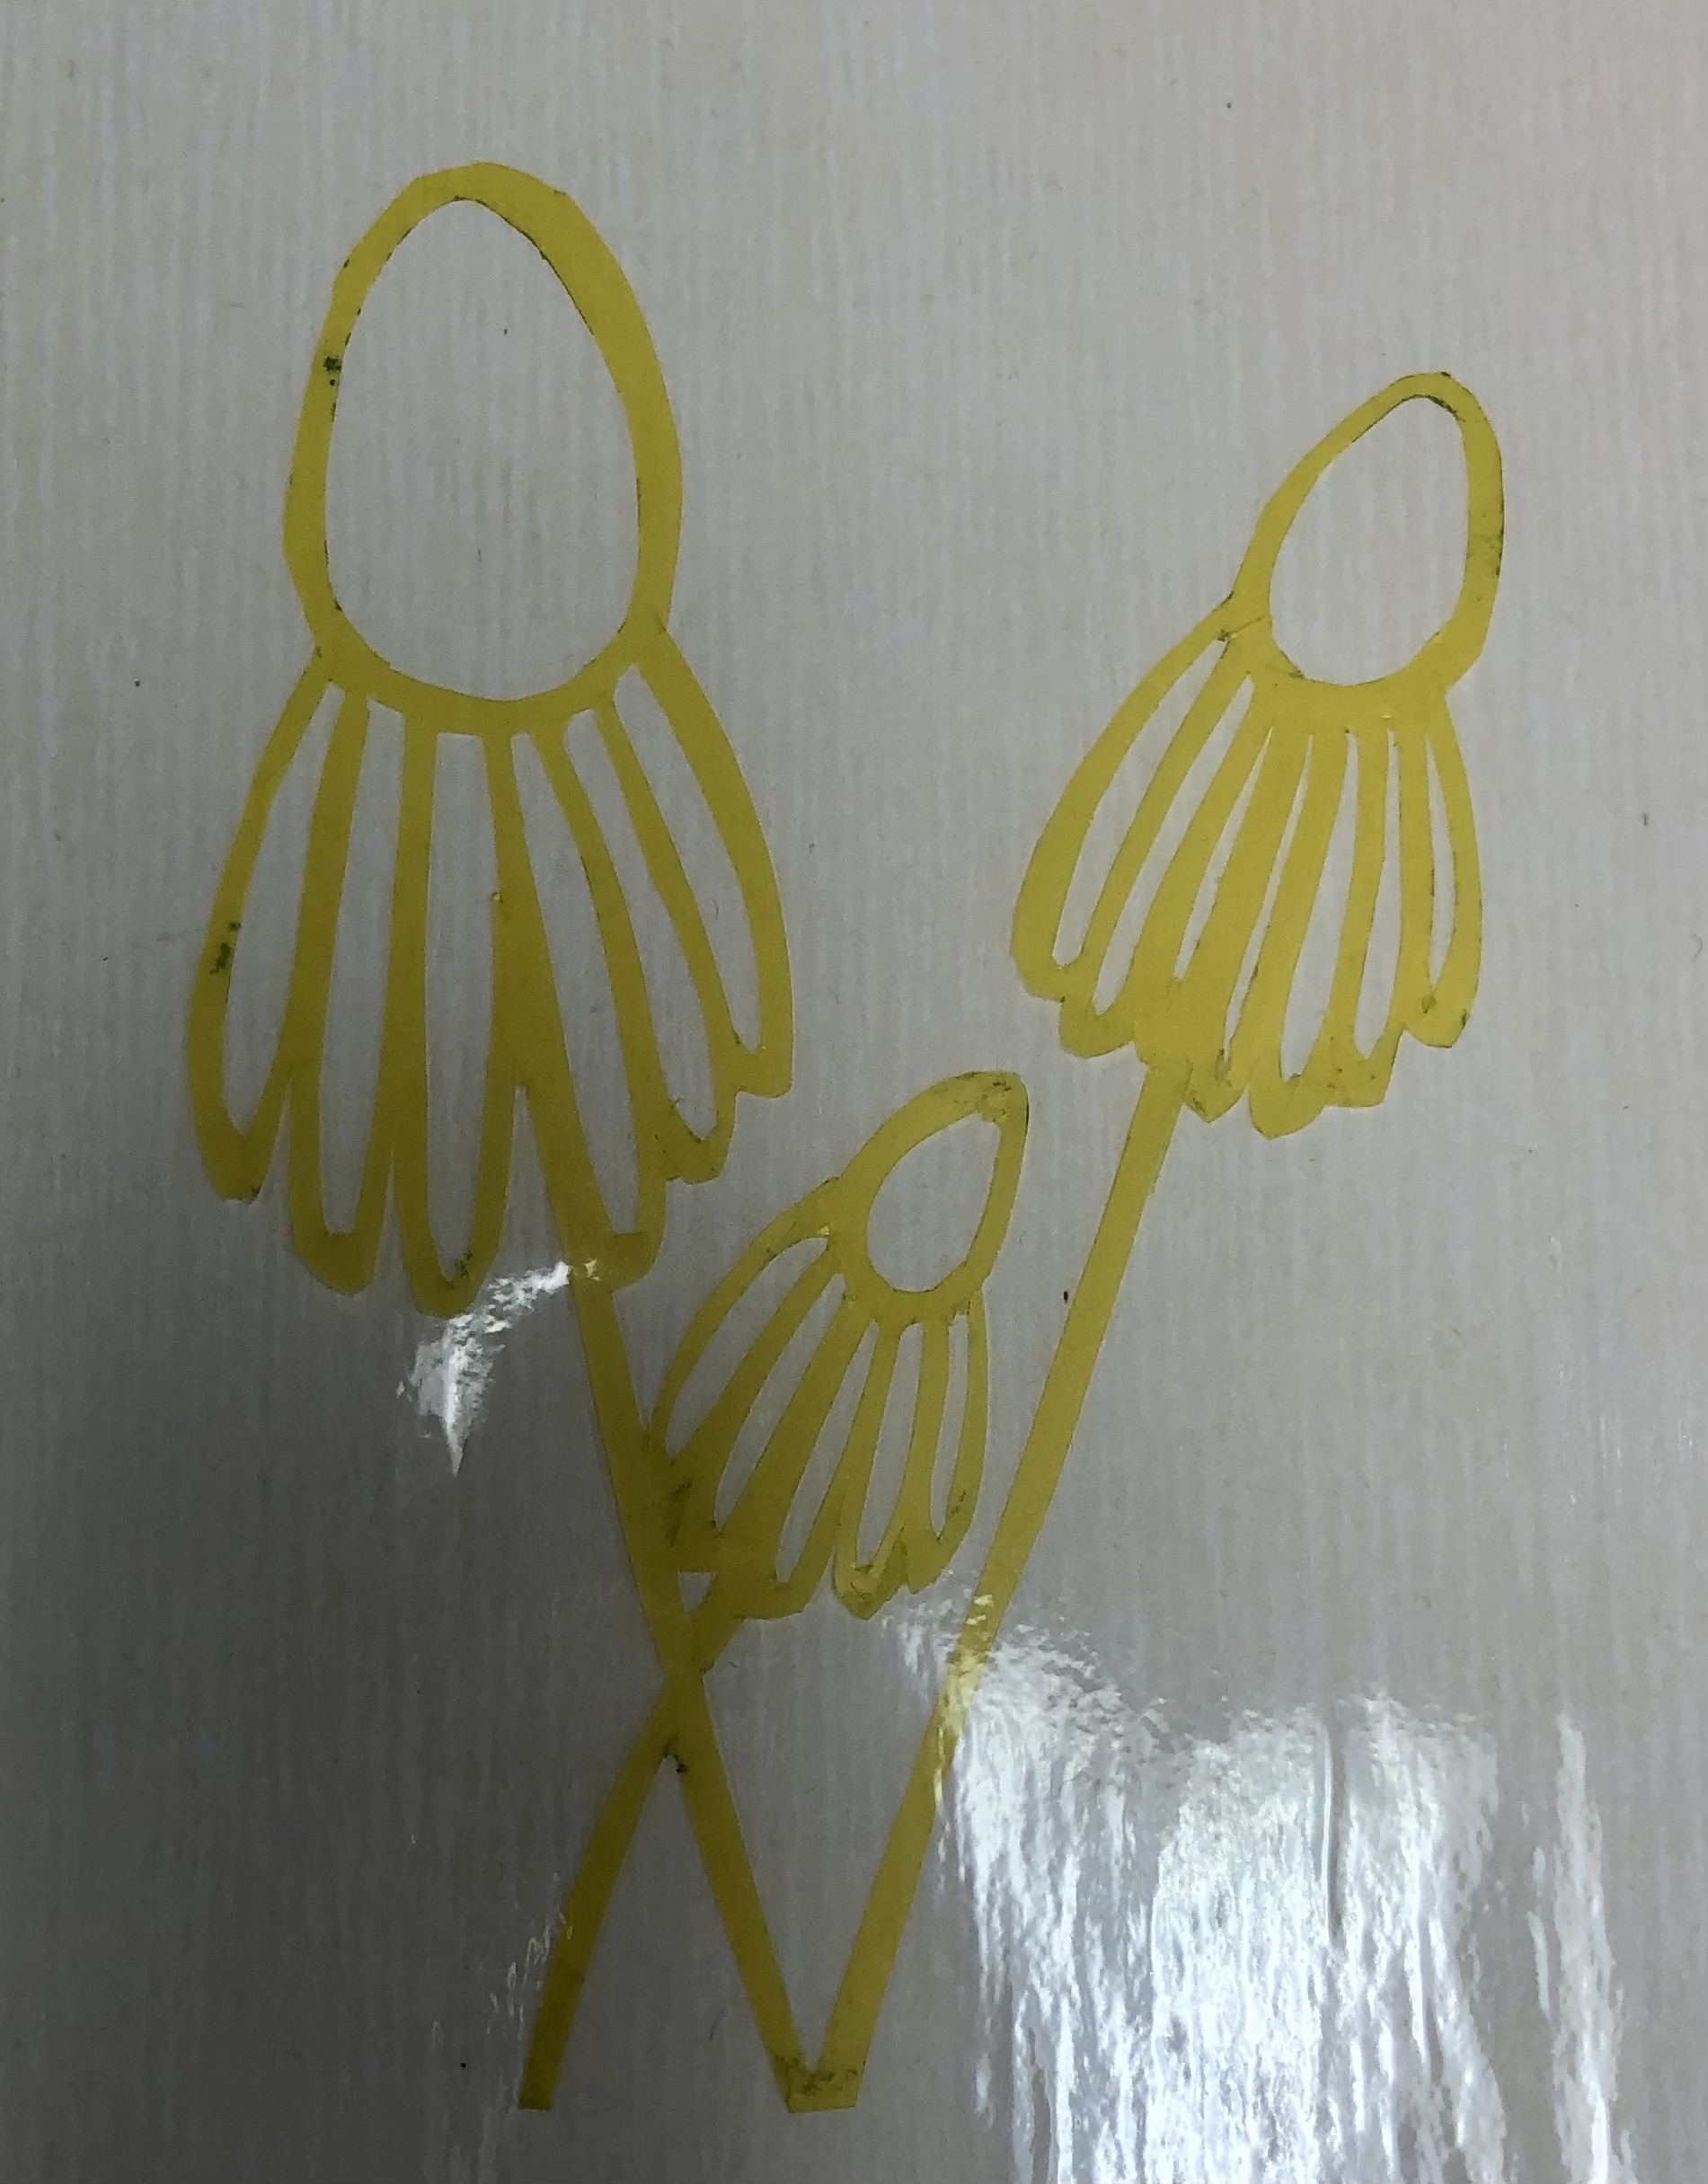
Joan had three beautiful 3D fabric flowers mounted on canvas.
 |
| Made with Fabric Magic to texturize |
 |
| Made with Fabric Magic to texturize |
 |
| Made with wash away stabilizer and thread work |
Shirley brought along a pop up card she got for her recent birthday and some play with metallic thread.


Shirley ( our visitor today) showed us the wonderful scroll she made.

Lena has finished her scroll and used a lot of beads on it. Amazing.


Sandie also had a finished scroll and some of her thickened dye pieces. She hasn't taken all the wax out yet and the one piece she did boil is quite a lot lighter than it started. It was suggested that soy wax might be a better option as it is easier to remove from the fabric.

 |
| Left: untouched, Middle: ironed to remove wax, Right : boiled and much lighter. |
Christine finished her stamped batik piece and has stitched it with gold thread and bound.

Christine gave us a short talk on making your own stencils.
Some questions to consider first:
What do you want to use it for?
What medium are you going to use with it?
What are you going to use it on? Paper or Fabric?
Some suggestions for materials are paper, thin plastic, freezer paper or card stock. Paper works fine but will be damaged by too wet a medium and you can't clean it off to reuse. Thin plastic from file dividers is easy to make fine cuts on and get good detail. Freezer paper will lightly adhere to your fabric when you iron it on. Card stock it sturdy but thick and harder to cut.
You would need a cutting mat, exacto knife or stanley knife to make your stencils.
You can take a picture and in a photo editing app turn it into a line drawing that you can then trace on to your thin plastic to design your own stencil. Here is one to try.
https://online.rapidresizer.com/photograph-to-pattern.php
An old photo album was suggested as a good place to store your stencils after use.
 |
| A stencil was used for the poppy pods. |
 |
| The birds were from a stencil. |
 |
| Mat, Stanley knife and exacto knife |
 |
| Thin plastic stencil |

 |
| Use both the negative and positive stencils! |
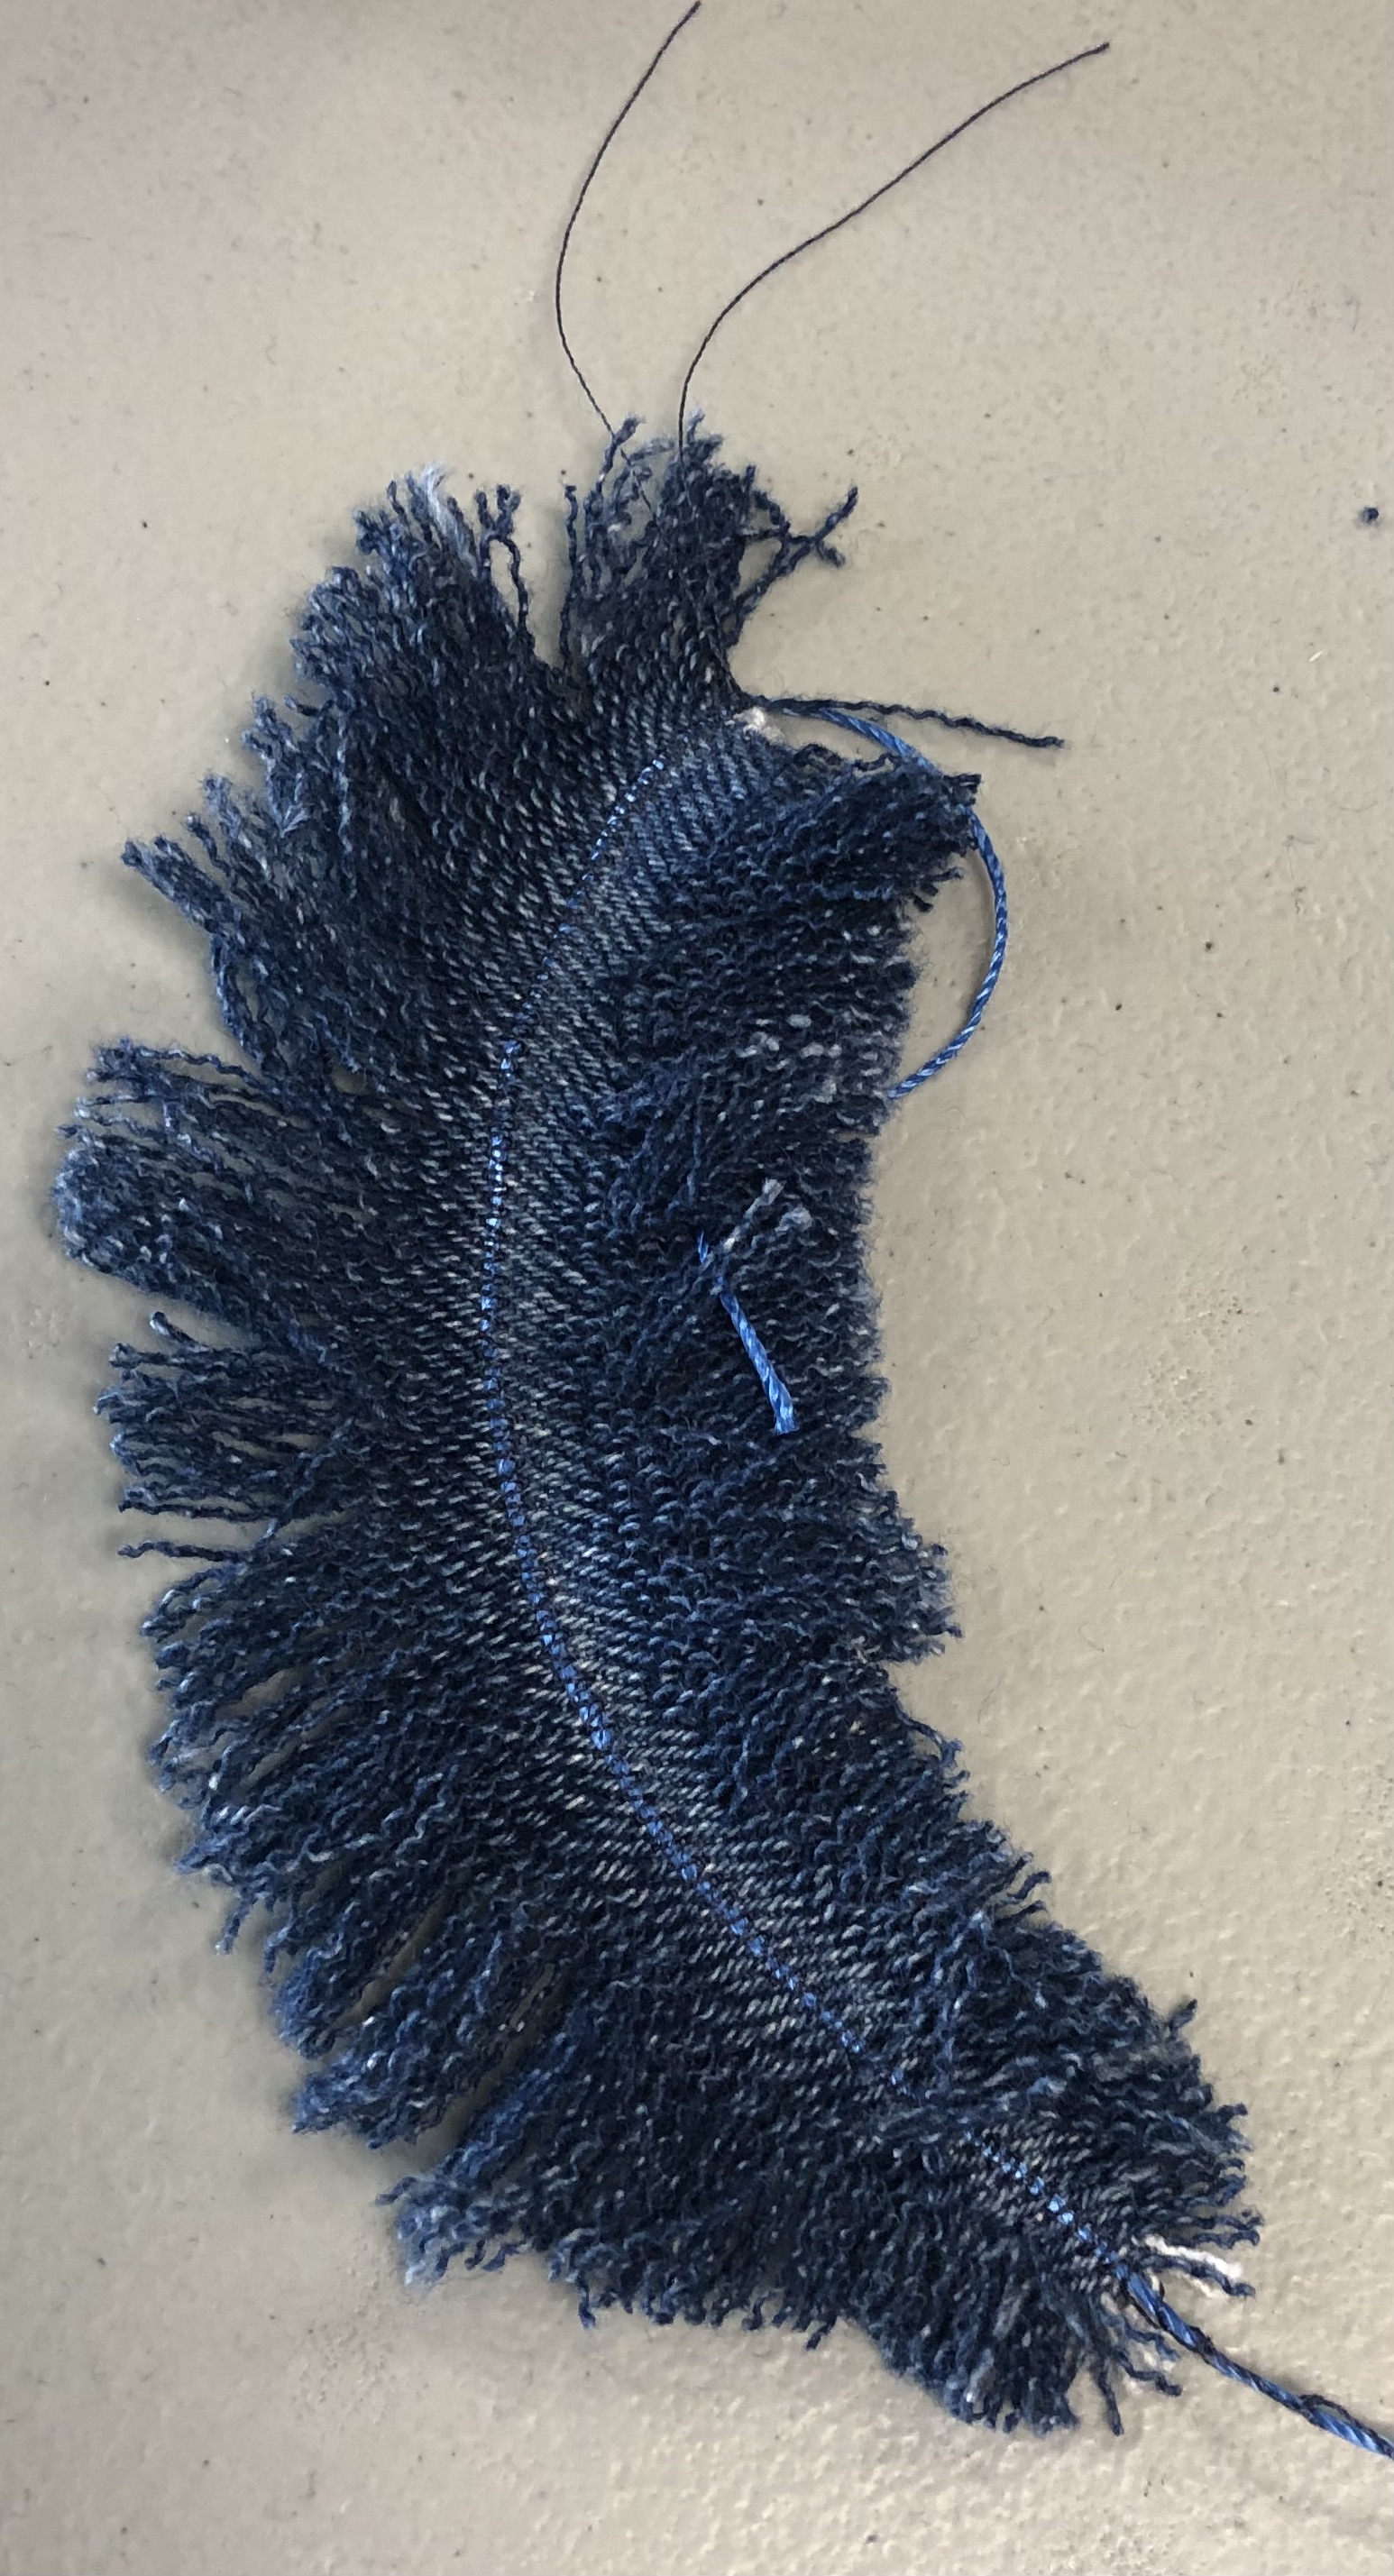
Feathers
Shirley then showed us how to make feathers from a piece of denim. She had sewing a strong centre line down the piece of fabric and then we carefully pulled out the light threads to leave the dark threads. Trimmed into feather shapes. If you sew in the oposite direction you can pull the dark threads to have a light feather. This will work on other fabrics that are dyed fully through the fabric. Those with a design just printed on one side will not work well.
Here is a link to a website with good instructions on the sewing:https://www.instructables.com/Upcycled-Denim-Feathers/


 |
| Half done |

 |
| Light feather |


No comments:
Post a Comment