Wednesday, 14 December 2022

December

Our December meeting was so much fun!  Lots of show and tell, beautiful quilts and a yummy pot luck lunch.  It was so nice to have lots of time for chat and a craft or two.


We had a friend of Brigitte's for a guest at the beginning of the meeting.  Nice to meet Marilyn.

Jeanette has handed out 5 x 7 frames for our Raising the Surface project.  If you missed the meeting she will have one for you next time.


Tassels

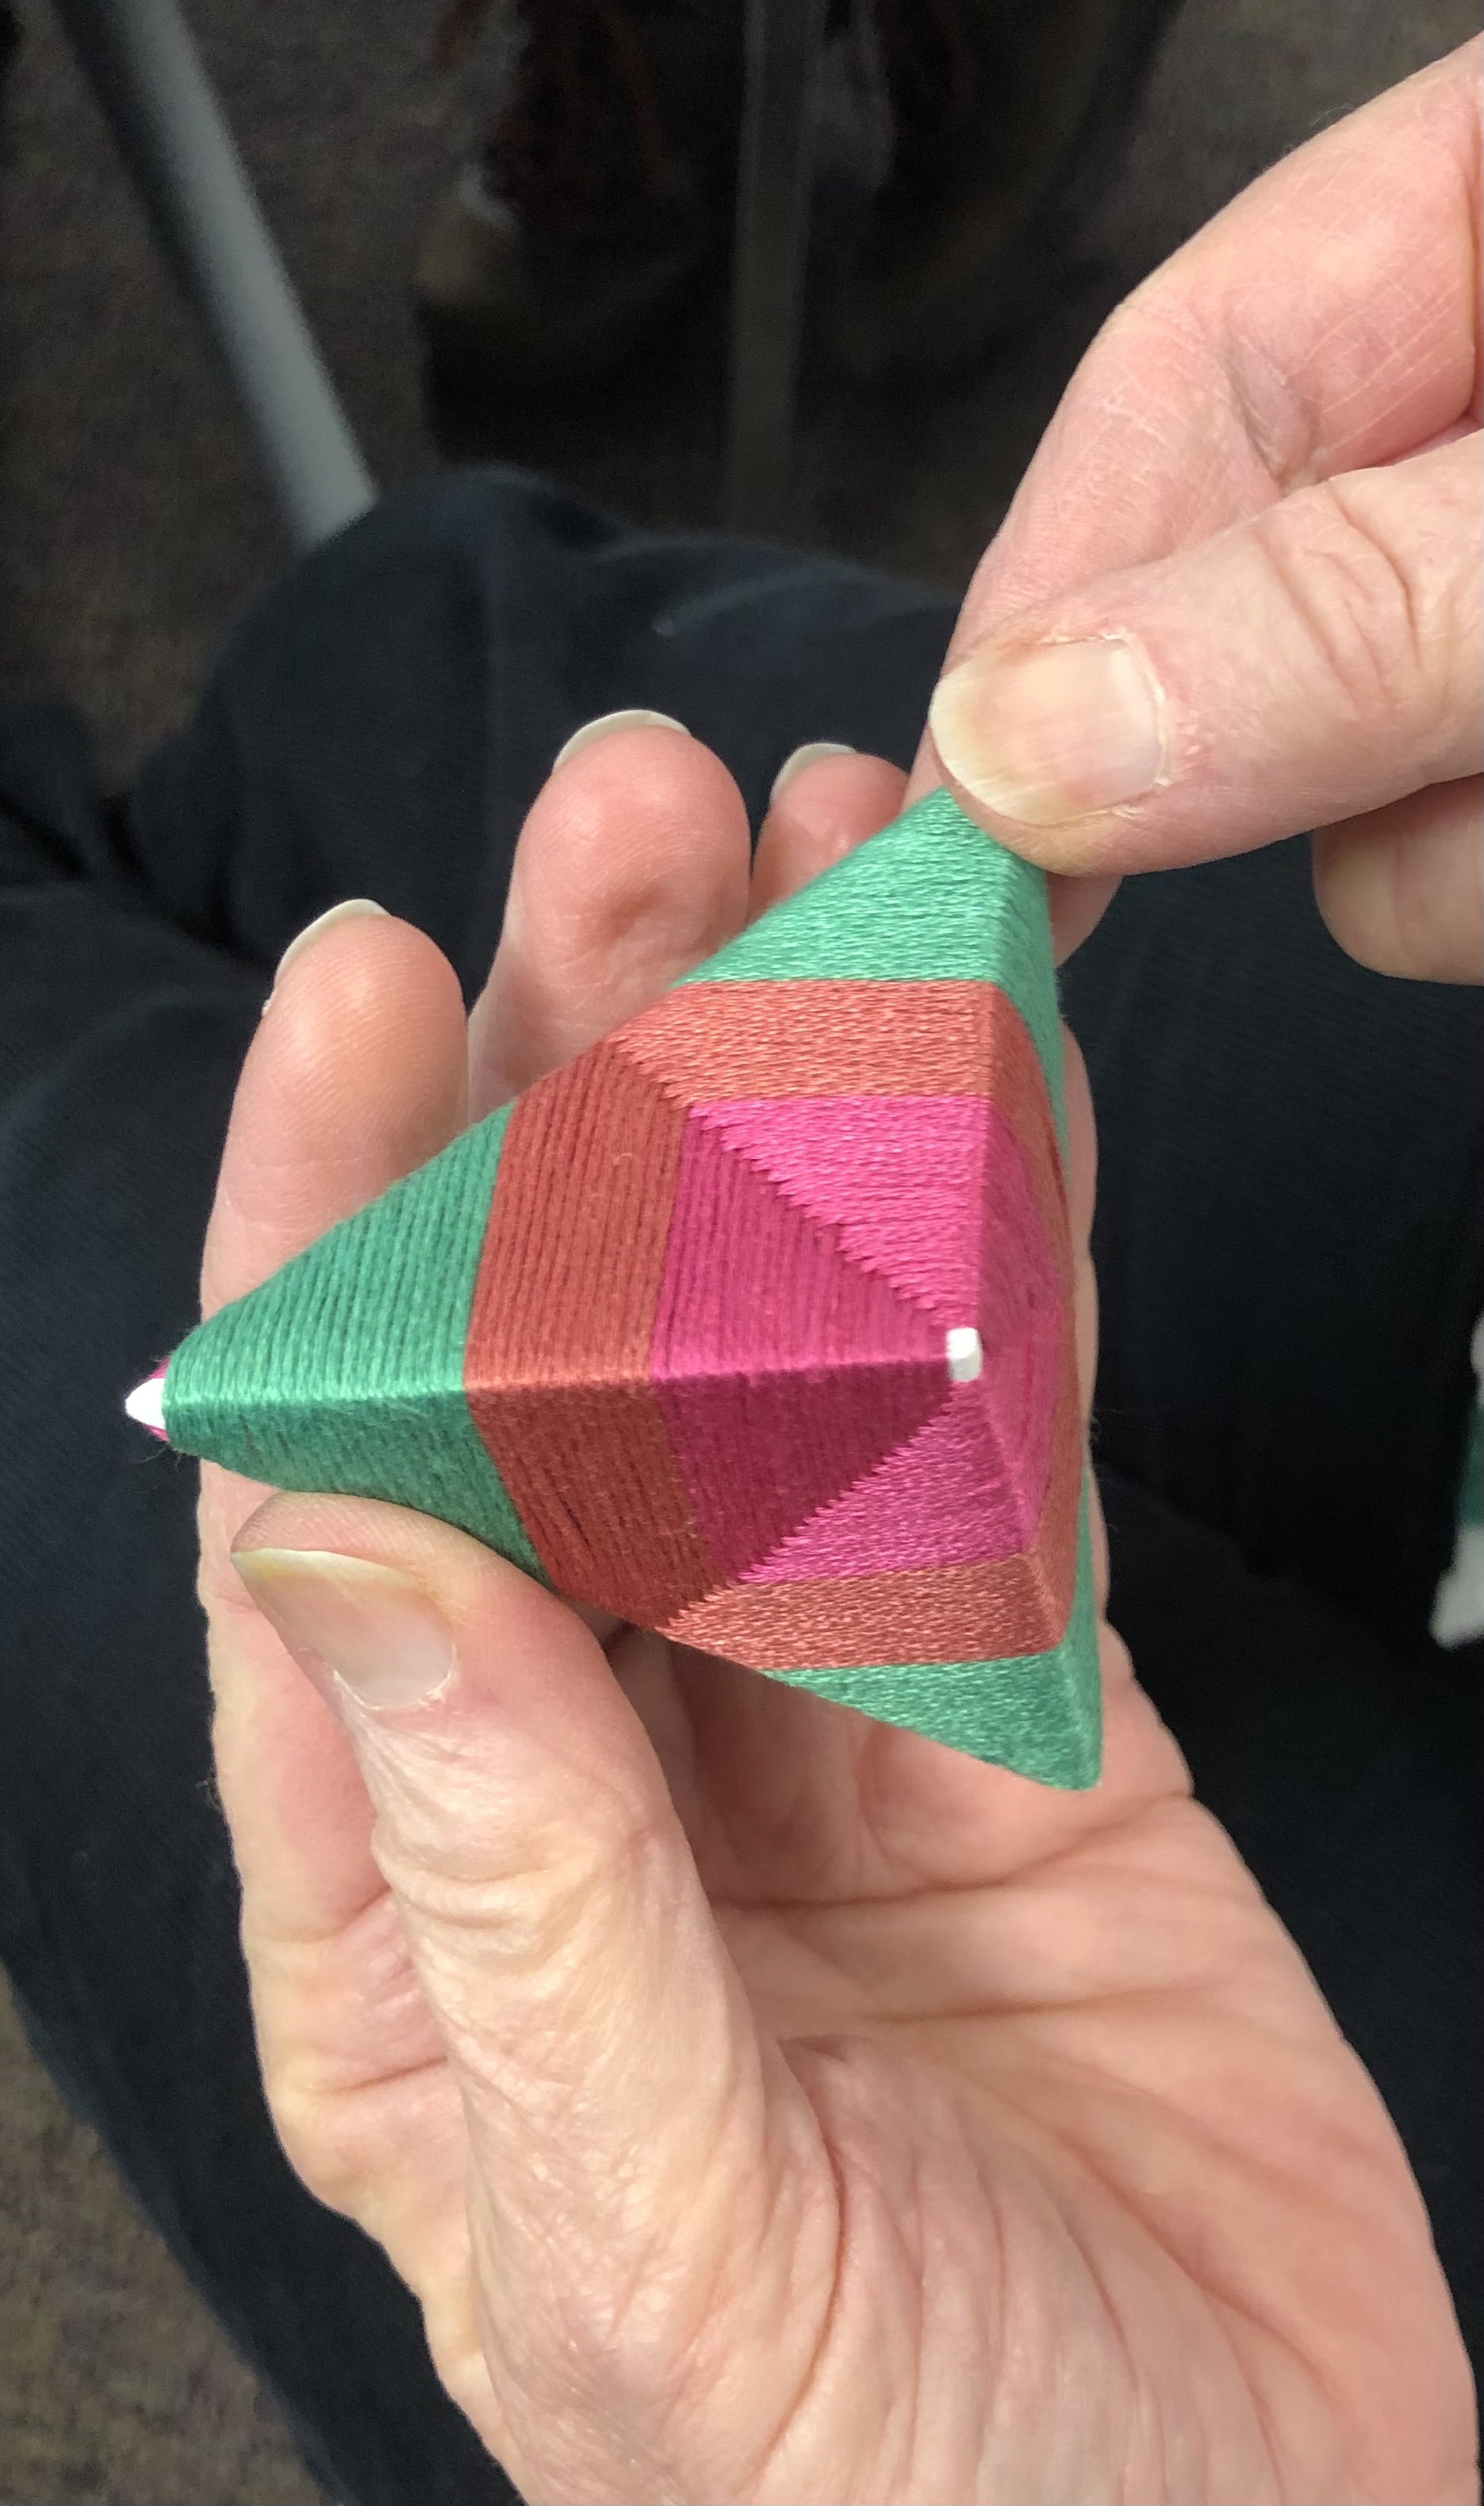
 We had some tassels brought in, Elisabeth had made two of the Tzitzit tassels from last month.  


Triangles

The triangle backgrounds were shown with beautiful and varied results from all.


Christine


Joyce


Sandie


Bev


Judith


Cath


Elisabeth


Shirley


Linda


Brigitte


Myrna


Show and Tell


Jeanette brought along a wall hanging she made with driftwood collected in the summer.  A couple of Christmas tree decorations and some dotted Christmas ornaments.  


Christmas tree decoration


Dotted Christmas ornaments


Joyce had a lovely piece that had been on display in Vernon.  Simple but so very effective!


Cathy had some amazing pieces her husband brought home from Chile.  A beautiful butterfly made of dyed horse hair.  She has also finished her piece based on the little ballerina's.  


Dyed horse hair

Necklace, pin and a hat of horse hair.


Sandie was playing with writing on cheesecloth use matt medium to transfer the letters.  


Linda brought a couple of large quilts( I missed getting pictures) and some Christmas placemats.


Myrna had some handwork and is planning on turning this background into a glasses case.  If you look closely you can see her Christmas themed pants!


Brigitte showed us her abstract landscape, that is all hand stitched by the way!  She was challenged to make a quilt using the Storm at Sea block but make it look different.  Voila, the lovely purple butterfly.


Her quilt Embracing My Dilettante  will be featured in Jane Dunnewold 's new book Inspired by Archetypes.  


Christine finished her Toni Whitney Stork, wonderful fabric choices.  And her Christmas tree skirt, with tassels, shows great use of non Christmas fabrics in a Christmas themed item.


Christine did a short demo on Textured Backgrounds.  She brought along examples of scrunched fabric, scrunched and painted paper, torn strips of chiffons layered and stitched down.   These techniques need to be fused to a backing or an interfacing.  Linda has a lot of interfacing and is willing to bring some to share at the next meeting.

Scrunched fabric

Scrunched and painted paper bag

Painted fusible web

Torn steps, layered and stitched


Example of bag made with textured background

Textured bag


3 Textured Backgrounds


  1. Wet the background fabric and squeeze out any excess water,  Using both hands, grab each end of the fabric and accordion pleat it by gathering it up into your palms.  Hold onto each pleated end, twist the fabric with one hand until the fabric wraps onto itself forming a knot.  Place a rubber band around the knot to hold it together.  Place the bundle in a warm dry place to dry for at least 24 hrs.  When thoroughly dry, remove the rubber bands and unroll the knot.  It will have formed organic wrinkles.  Pin the wrinkled fabric to your ironing surface right side down using a pin in each corner to hold it in place while retaining the wrinkled texture.  Place the fusible over the fabric and press it to the wrinkled surface using an up-and-down motion.

(from Quilting Arts April/May 2017 by Heidi Lund) 


  1. Cut Steam-a-seam or similar and paint with silk paints (I used Jacquard fabric paints).  Paint brown paper with any medium (I used acrylic paint).  Allow both to dry.  Crumple gently the brown paper until it becomes soft and rag like.  Bond brown paper onto backing fabric.  Peel off the backing of the Steam-a-Seam and gently press down on the painted and crumpled brown paper.  Don’t press too hard otherwise the crinkles will be ironed out.(from Raising the Surface by Maggie Grey)


  1. Cut a piece of Pellon with adhesive on one side.  Place fabric scraps on top in strips or any shape you like.  Iron to adhere fabric to Pellon.  Free motion in place for further security and design.  Add more stitching, threads, fabric, etc as desired.


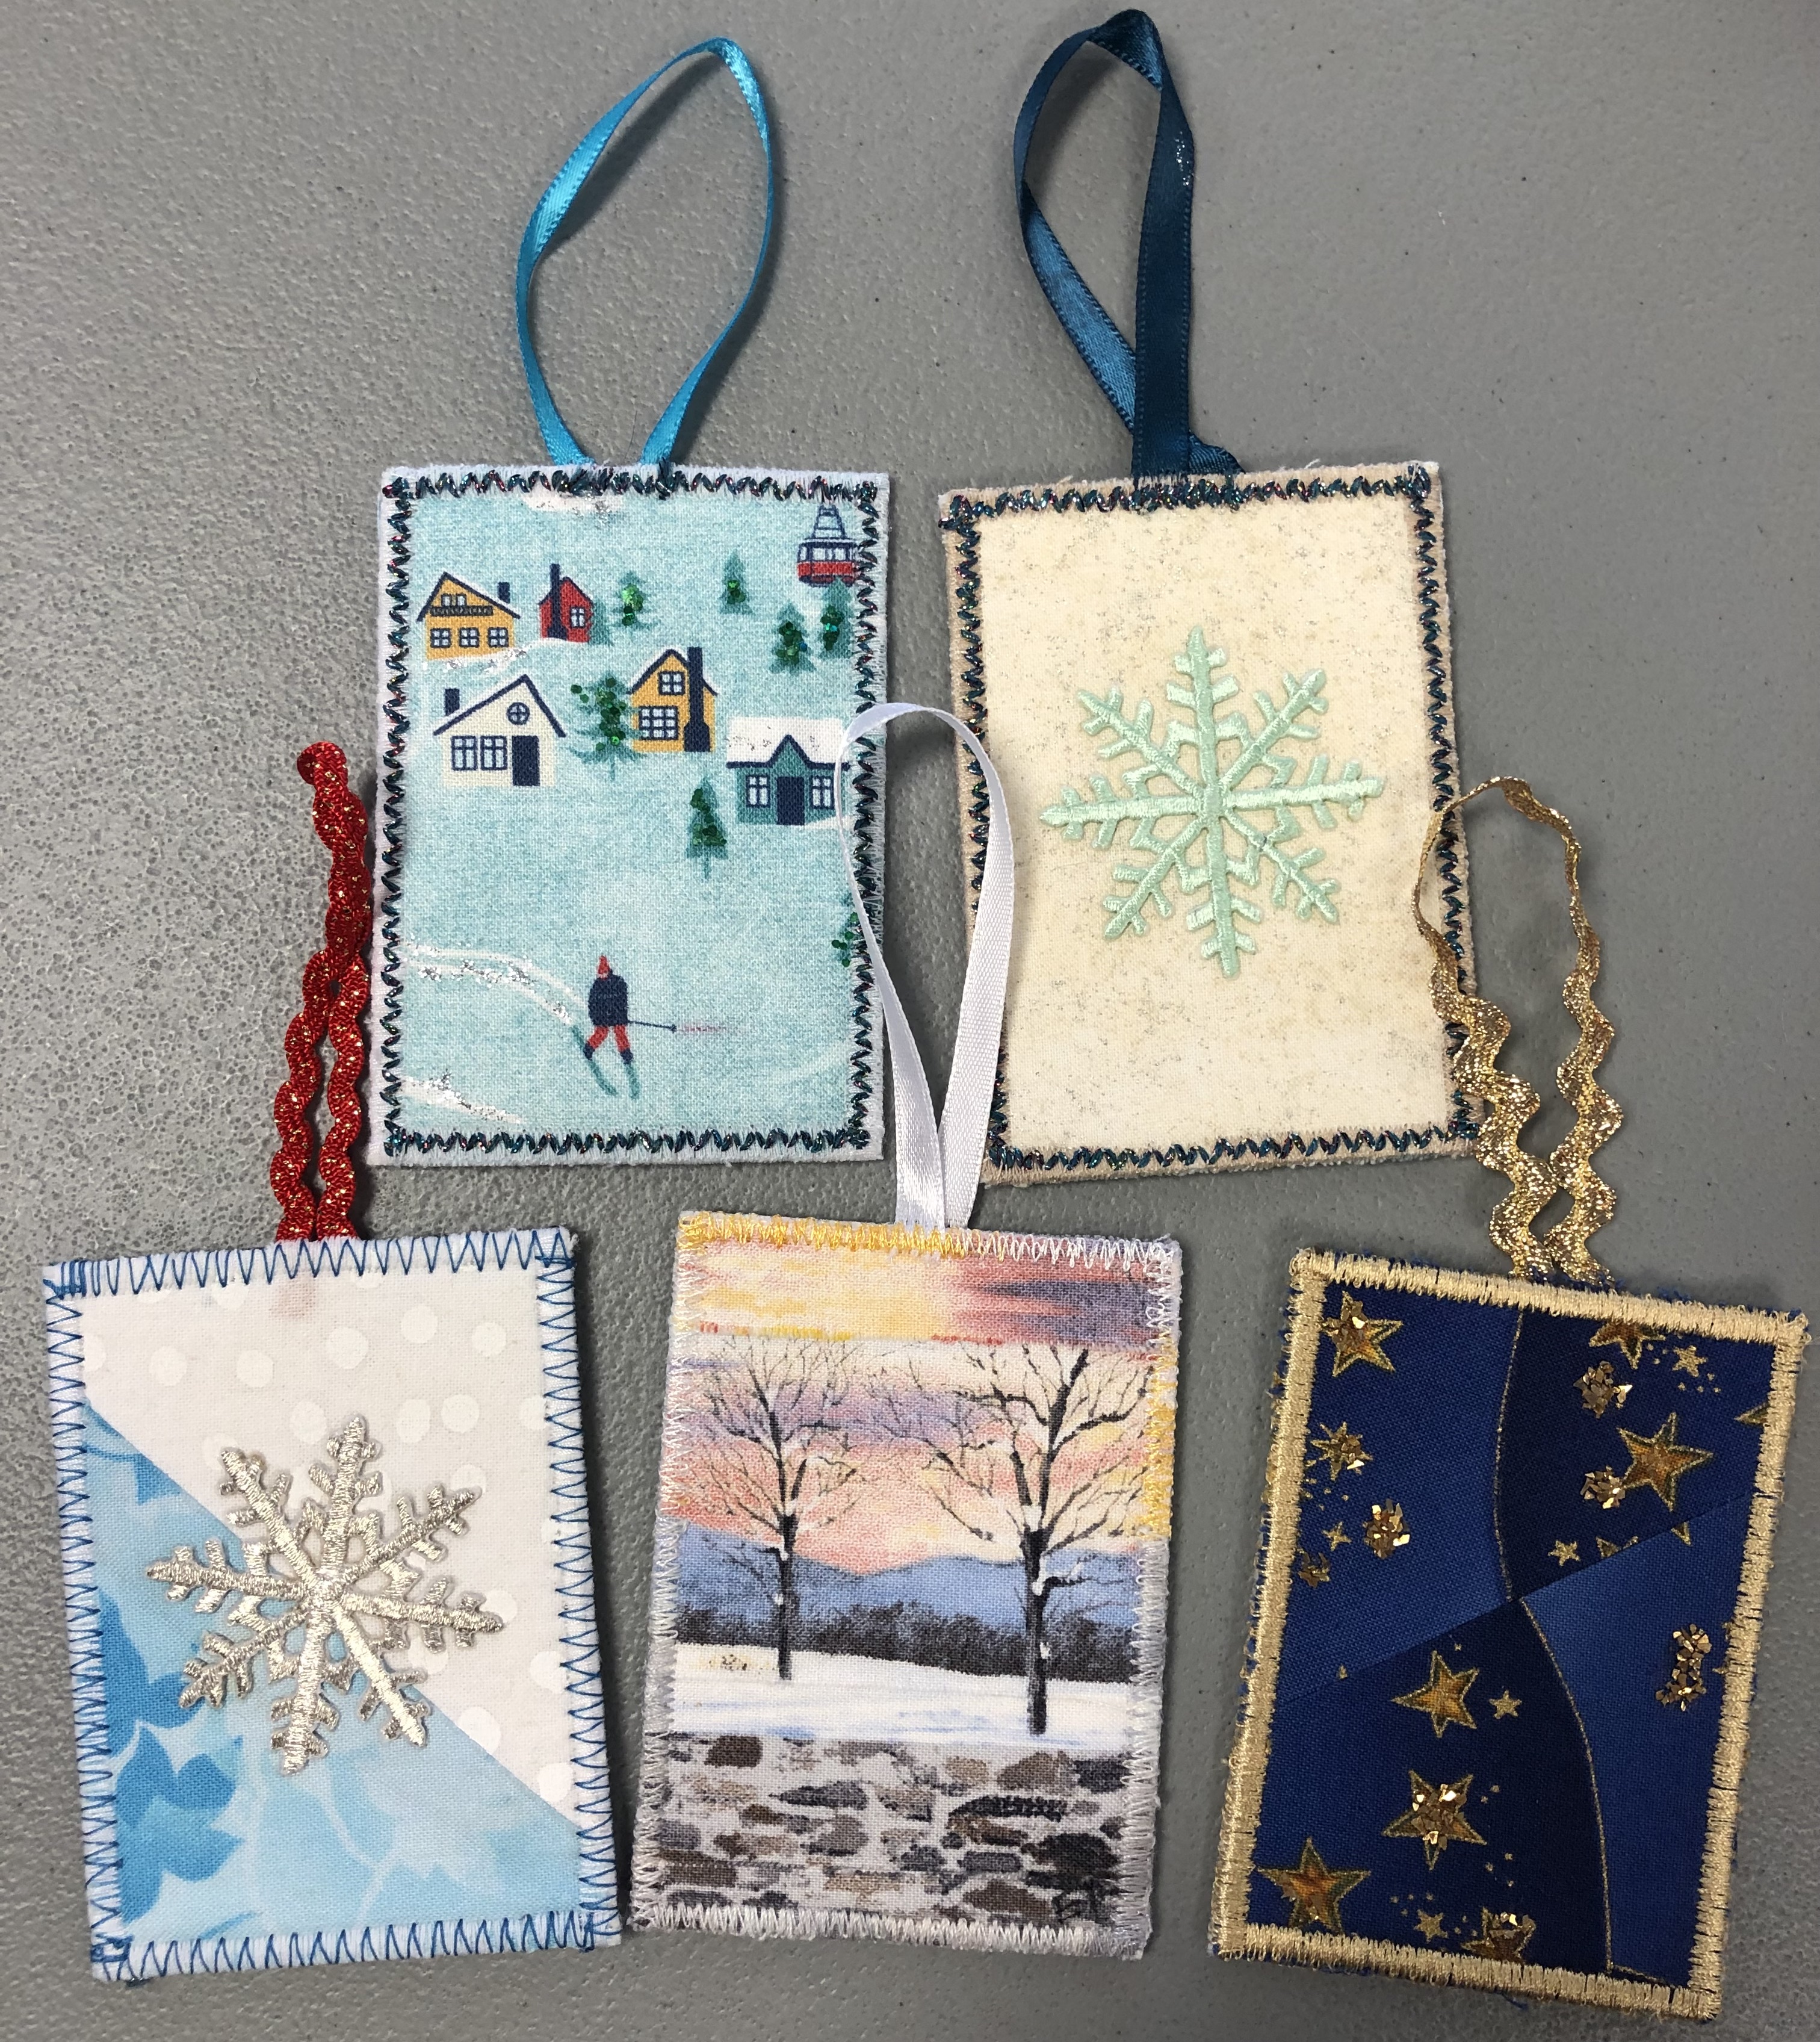
Dragon Boat Ornaments and Gift Tags


After a lovely pot luck lunch and lots of chat we tackled Dragon Boat Ornaments and some Gift Tags.

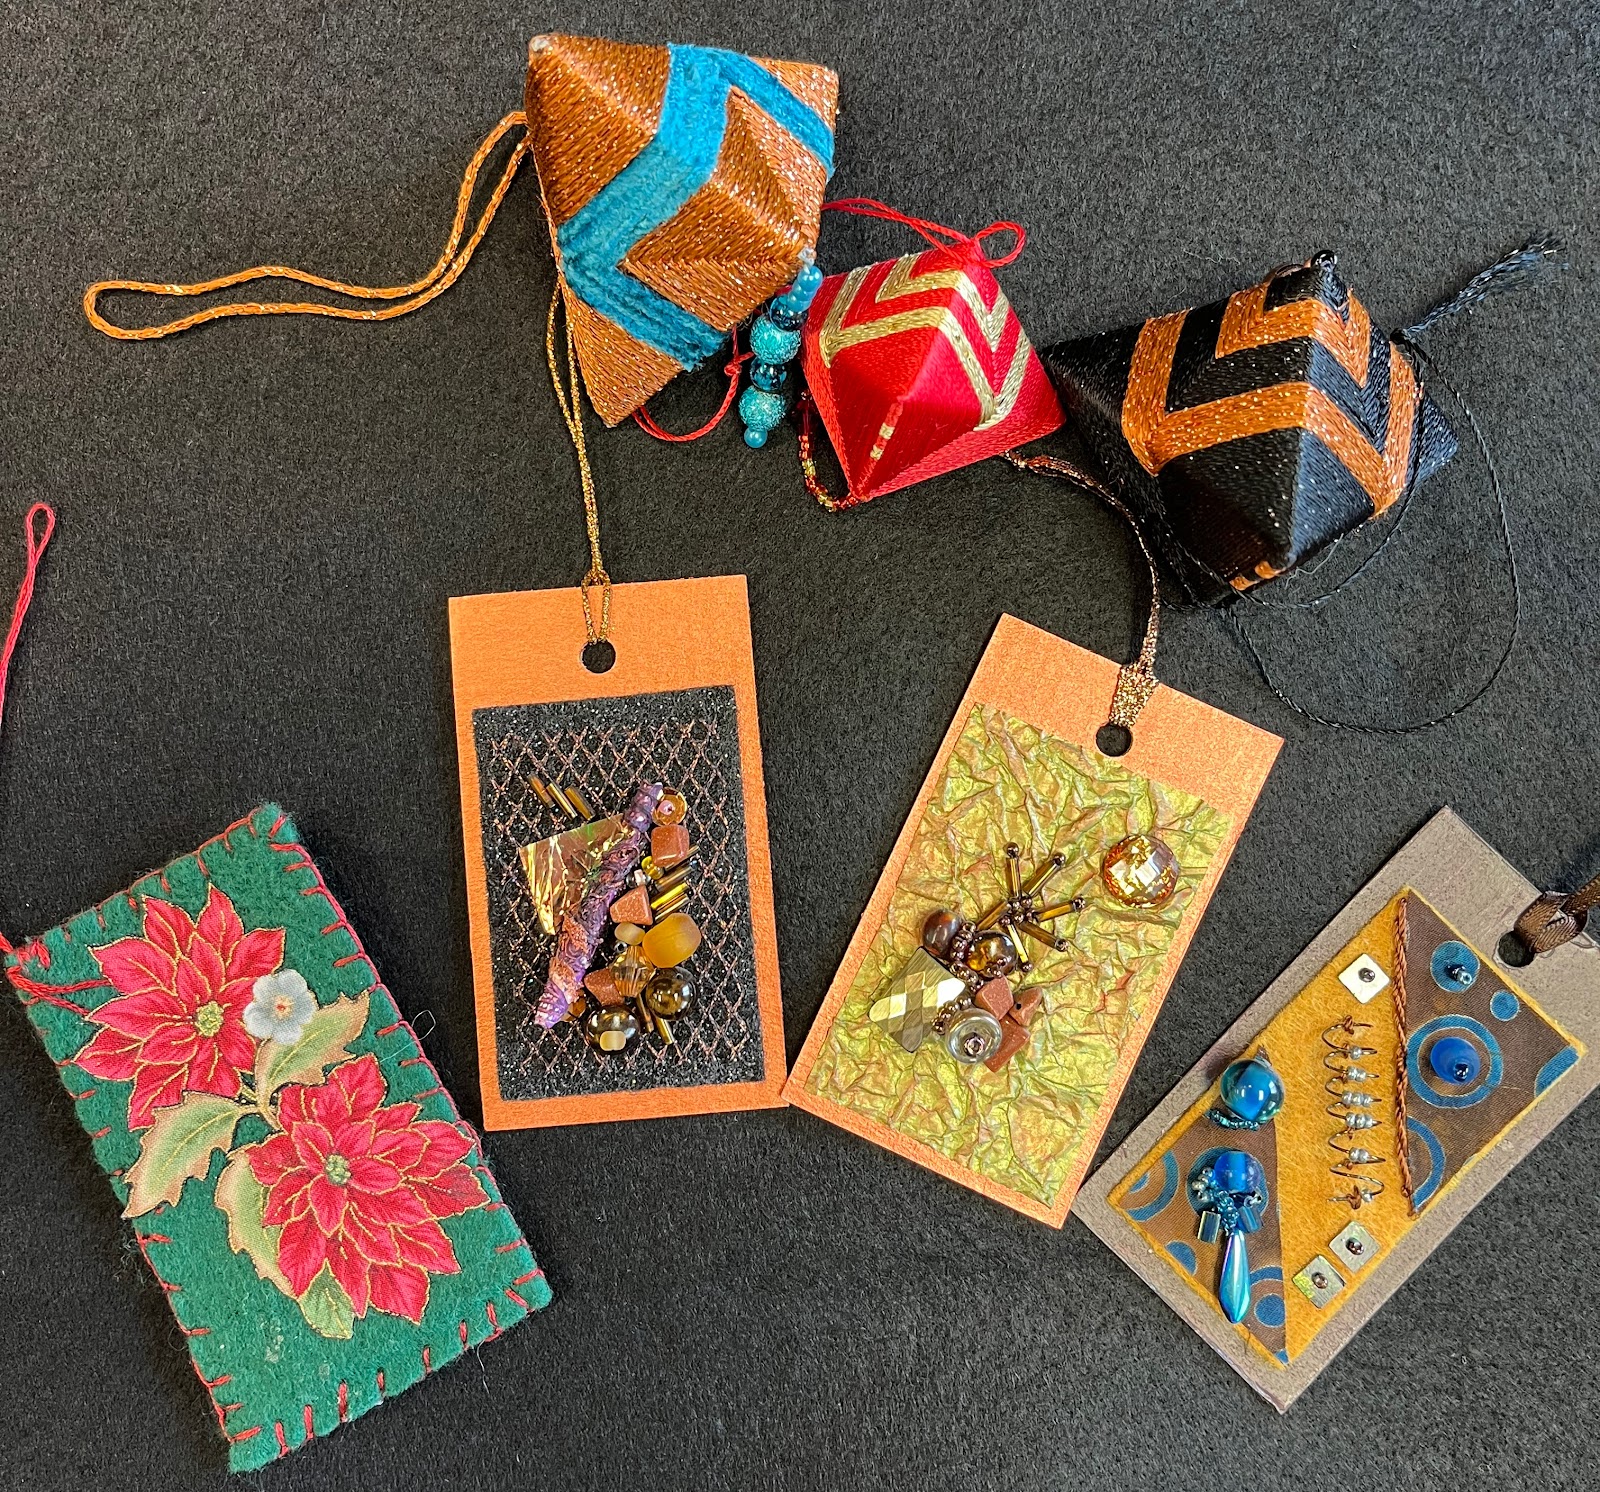


Examples
The variegated thread self stripes.


Cathy had some old time people cutouts to share and a few were used on gift tags.


Wednesday, 9 November 2022

November

 Brrrrrr!  Snow and cold kept our numbers down but some made it in spite of winter starting with a vengeance!


Christine is going to email the Whispers challenge list to all of you so you will know where you are on the list.  I will still send reminders and make sure the pictures are getting passed along.  Cathy has it now.


We talked about having an appy pot luck for our December meeting as we have the room for most of the day if we want.  We can have our meeting, do a craft or two, and have a good visit as we celebrate the winter season.  There will be supply list's emailed closer to the day. 

And a reminder that we have a very serious allergy in our group so no Shellfish please.  Thank you all for respecting this.


An example of gift tags and Dragon Boats.


Jeanette talked about our Raising the Surface work for the new year.  She has found some inexpensive frames in town that will work well for our display.  They are 5x7 inches in size.  She is going to source them for all of us.  More information to come.


Work in progress, Jeanette's.

Close up- example.

Close up- example.

Close up- example.

Example of display.


Show and Tell


Shirley had quite a few lovely things to show us. 


Her finished triangle background.


A pincushion gift. I don't think I could put pins in such a lovely piece of work!


Indigo dyed, was white but came out silvery grey.


Elisabeth has been indigo dyeing as well.  Using up her last leaves.  


Very soft shades.


Myrna is still working on her triangles, looking forward to seeing the finished piece!  She brought along the first necklace she made herself using collaged tissue over plastic and beads. It even has a tassel!  Beautiful!


Brigitte has completed her triangle background, say hello to Old Man Winter!  He will be displayed on her front door.


Bev is giving us memories of summer with her lovely sunflowers and bees!


Cath

When Sandie saw the grey background she said it looked moody.  I decided to use that and added a couple of poppies.  Sombre seems to suit it and it is in Remembrance. 


Christine missed the meeting but send along a picture of her piece.  She kept her edge very jagged. 


Judith found a home for her lovely quail with her background.


Tassels


Betty presented her Tassel talk.  Biblical


She talked about how small hand made tassels were used on the corners of clothes for men in Orthodox Jewish beliefs and how the making of them was very symbolic.  I have put a link here for you to check out.  Betty talked about how she made one of the Tzitzit tassels and gave us instructions and some embroidery floss to try to make our own.  When you look closely at the picture they are really very interesting shapes in the wraps and knots. 

https://en.wikipedia.org/wiki/Tzitzit


Saturday, 15 October 2022

October

 A beautiful fall day!  Sunny and warm and looks to continue for awhile longer!

We are pleased to have Joyce join us again and Myrna came today to see if she wants to be part of our group.  

We talked about the quilt show and what went well and what could be better.  The space constraints were the biggest issue and we will need to consider space more carefully for future shows.  

Sandie has the QuArtz banner and the three panels and will continue to store them at her house.  The buttons are still attached to one panel and will stay there unless you ask Sandie for yours.

Our theme for this year is Raising the Surface and we are looking at making pieces 6" x 6".   Look at last month's blog to see an example of what we are considering.


We have a few ideas for a small Christmas project to be done at the meeting.  For those who missed the meeting on Tuesday we will bring the samples to the next meeting as well.

Cath has brought along two possibilities, gift tags as elaborate as you like.  Dragon Boats or Chinese Yarn Winding.  We will decide at the November meeting which one we will do in December.


Jeanette gave us some information on Tassels.  The historical beginnings of their use and some ideas of different ones.  They are divided into three parts, the head, the neck and the skirt.  There will be a monthly presentation on a variety of tassels done by other members.

Here are a few pictures of the tassels we saw today.


Jeanette had a variety to share


Cath used copper scrubbies in her tassel


Gloria Daly brought this amazing tassel a few years ago.


Seen in the thrift store

Another thrift store item, chains for the skirt.


Show and Tell


Elisabeth brought along some pieces she had done in a Catherine Nicholls workshop called Colour, Colour, Colour!   Well named as they were very colourful!  Beautiful work!


Triangle Backgrounds


Sandie presented triangle backgrounds.

1. We will start with a piece of black felt approximately 15" x 22".

2.We will cut a piece of Misty Fuse or similar fusible about 1" smaller than our black piece.  Using parchment paper on top we will fuse the Misty Fuse to the felt.

3. At this point  we begin layering the fabric triangles over the fused surface.  The colour choices and pattern are up to you.  the triangle pieces can be a 2" square cut in half along the diagonal.  This is only a suggestion.  You can use different sized or shaped triangles.

4. As you lay the triangles on the black felt do not extend the triangle past the edge of the felt.  You will want an irregular, 'pointy' edge that you will trim later to give a more dynamic edge.

5. When you feel ready and there are no black areas peeking through you can iron/fuse the triangles to the fused black surface.

6. Ready to sew?  You may add a backing to your piece at  this time.  Quilt as desired, but keep in mind that you are anchoring the triangles as you sew.  This is in addition to the fusing.  

7. You will also need to sew approximately 1/8" around all the pointy edge to firmly anchor those pieces too.

8. Fuse, quilt, embellish your new substrate as desired.

9. Trim the edge of the black felt 1/8" to 1/4" to give it that pointy appearance.


October

Welcome back again.  Joan is chairing the meeting today as Shirley W. is off on an adventure to the Philippines and Japan.   Quote for the d...