Hello again! We had a busy and exciting meeting this month.
We are reminded that on April 17 we have been invited to Show and Tell at the Guild meeting. One or two people will stand up and talk about the criteria we had for our 3D pieces and scrolls. As space will be limited to two tables we are asked to bring one 3D piece each that can stand on a table on its own. If you are not able to attend the April Quartz meeting can you please arrange to bring your piece in earlier.
The Trailblazing Women of BC and Yukon rules were gone over again. Due to display area constraints we will have to adhere to the rules for size and orientation. It must be 14" wide and 23" long, that is a portrait orientation. It must be 3 layers and have a rod pocket and be an art piece.
The Guild has a Silver challenge going for the fall quilt show, if you are interested the rules for size and entry deadlines is in the latest newsletter. You can find it on the VSSQ website.
We will be having Janet Scruggs giving a trunk show and small workshop at the May meeting. It will be an all day meeting and there will be a $5 charge that is payable in April. Her theme for the workshop is Paper/Fabric, Fabric/Paper. An overview and supply list will be sent out later.
Show and Tell
Christine used some of her marble fabric to cover a journal she has been working in for a few years.

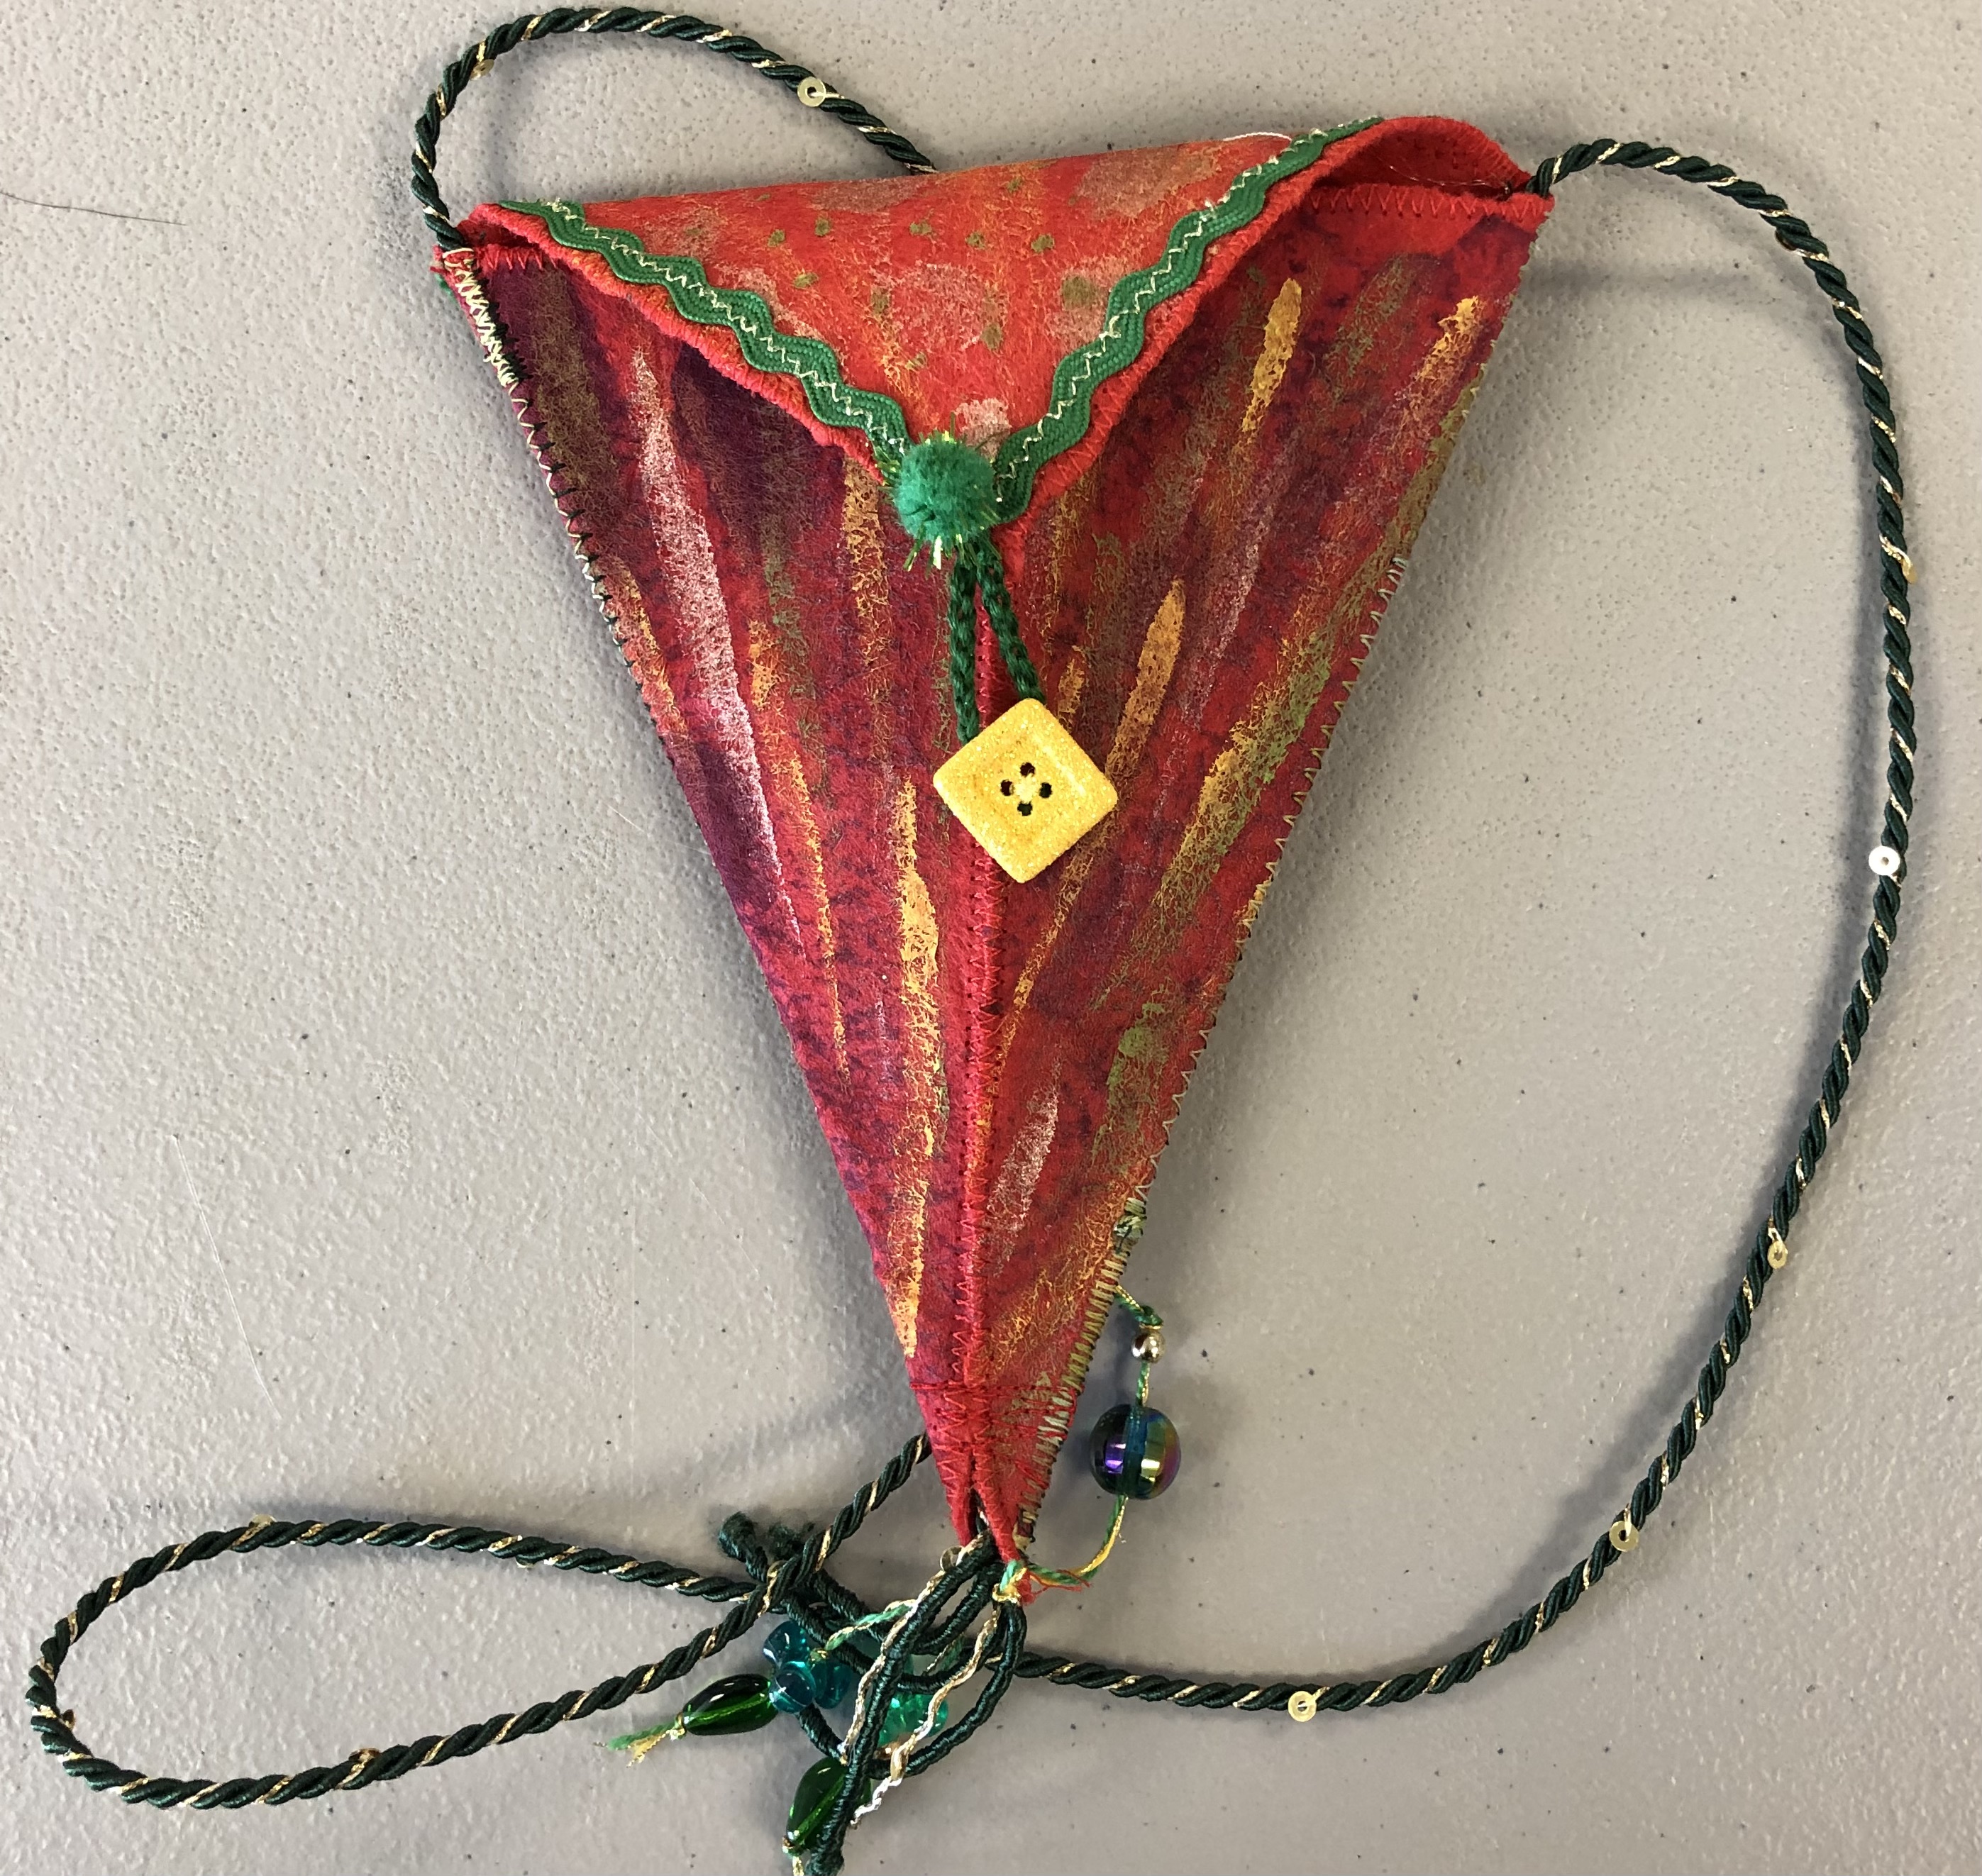
Linda W. brought in a beautiful tapestry pillow she has finished, her newcomer's bag and some of her marbled fabric.


Bev showed us another one of her lap quilts called Twisted Sisters, her scissor holder and some marble fabric she made at home.


Cathy mounted her marbled fabric on a small canvas for display in her studio. She made her granddaughter and exploding book, also called a squash book, and showed us her copy of What Women Create Magazine.

Lena showed her marbled fabric and a beautiful Valentine's Day card she made for her husband using Zentangles.


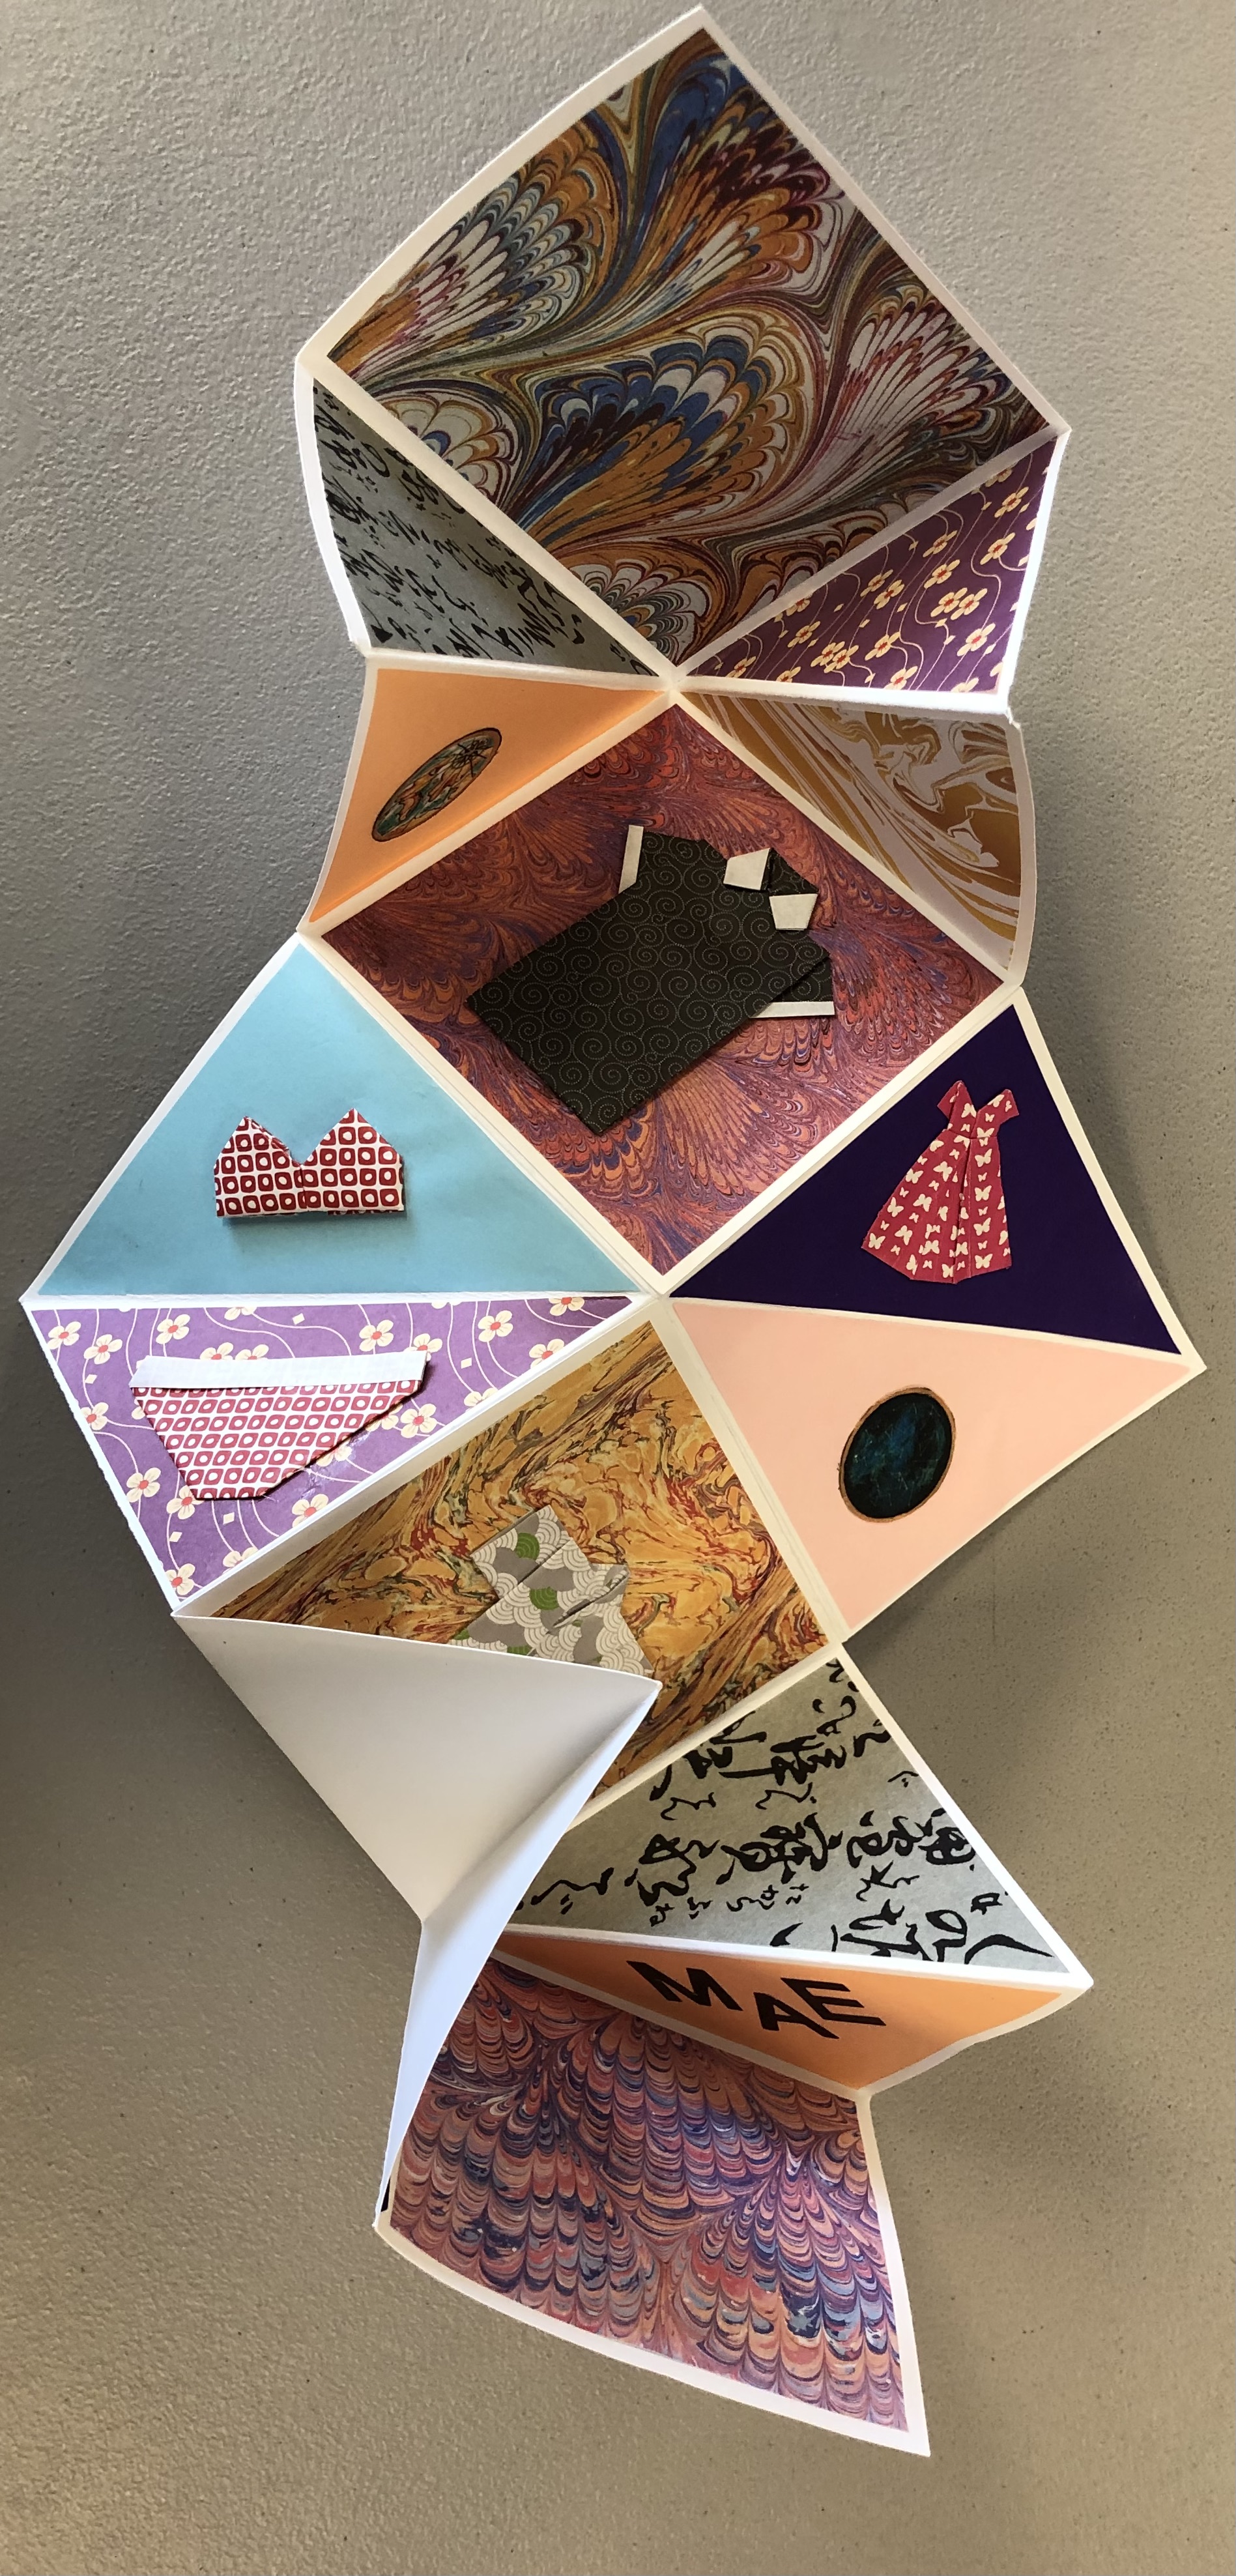
Sandie made a little book full of envelopes with her marbled fabric an inspired a few of us to try to do the same.


Judith also made an envelope book with her marbled fabric.


Cath had used up all 3 pieces of the fabric and made a dumpling bag, a round hat box and an envelope book as well.


Snow Dyeing
The main event of the meeting was a chance to try out snow dyeing. Everyone brought fabric and containers, dyes, and even snow!
We started off with mixing up a bucket of soda ash and water and soaking the fabric for at least 20 minutes. The soda ash water will keep well for quite awhile, giving you more opportunity to try dyeing something else. You can also let the fabric dry with the soda ash on it to use later. You would then just rewet it before dyeing in the manner you choose. There are many websites with excellent information on mixing and using it in the dyeing process.
When the fabric was ready we crumpled, folded or whatever you like and placed it on a rack in our tubs.


Snow or ice was then placed on top of the fabric and dye powder (wear a mask!) sprinkled on top. You can use more than one colour, a lot of dye powder will result in darker fabric.


After that you just have to wait until the snow melts. Let is batch for 24 hours before rinsing the fabric out and washing it. Dry in the dryer and then iron so you can see what wonderful things have happened. You do not have a lot of control over how the dye moves and spreads through the piece of fabric. But that is the charm of snow dyeing!
 |
| Adding dye to the snow and fabric. |
 |
| Covered in dye |
 |
| Partially melted |
 |
| Fully melted but not yet rinsed. |
 |
| All the dye in place |
 |
| Partially melted |
 |
| Fully melted but not rinsed. |
 |
| Covered in dye |
 |
| Mostly melted |


